
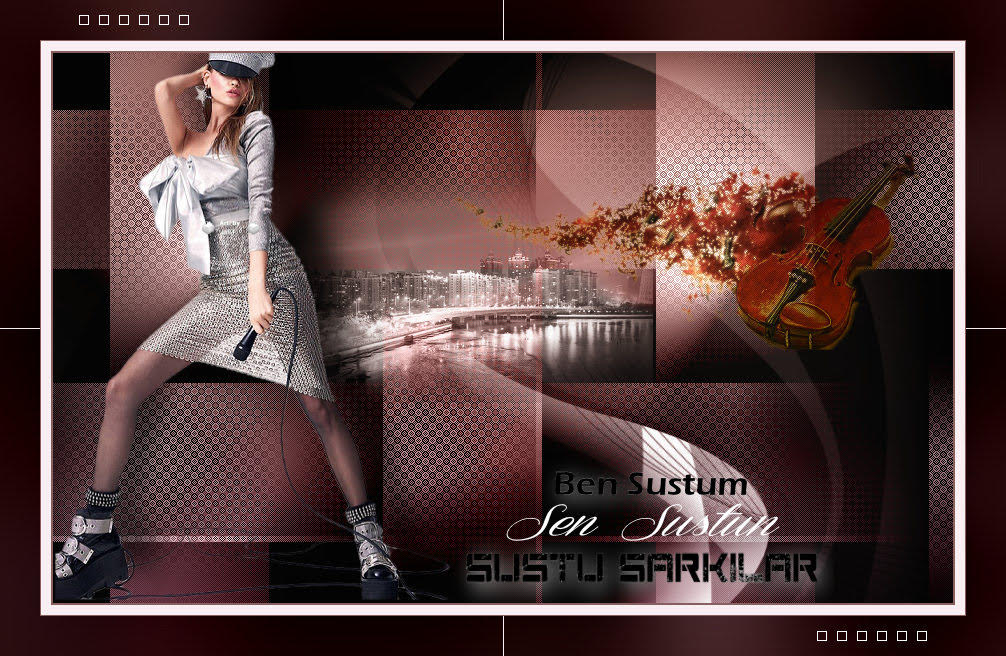
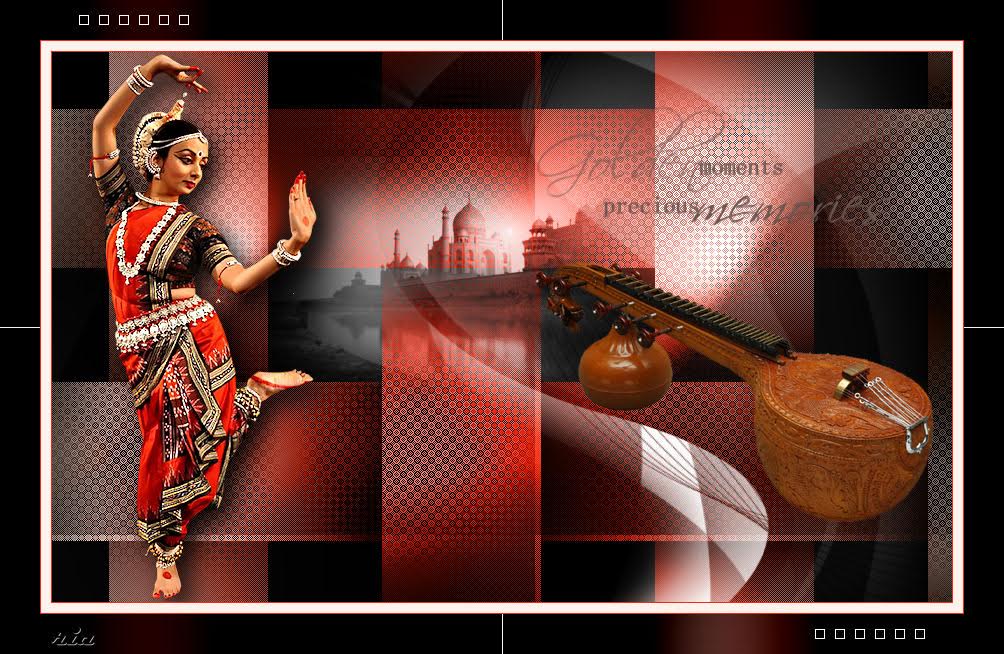
PSP Corel X8


Nederlandse vertaling door Lisette Maggen
Onze dank hiervoor 

Danke für die Deutsch Übersetzung Anja / fotodesign-anja.nl


Tube
Kahlan Tube
Plugin
Mehdi – WayLab1.1
FiltersUnlimeted2.0/VM Naturel –Weave Distortion
L en K ‘s palmyre
Plugins Galaxy – Grid
Alien Skin EyeCandy 5: Impact –Perspective Shadow –
Mock–Windo
Mask
Narah_mask_0878
Materials
Choose a light and a dark color from your tube
PropertiesForeground; set your Foregroundcolor to#e7e3e0
Properties Background; set your Background color to#382822
Propertiesforeground: Make a foreground- backgroundGradient of these two colors
Color
Foreground :#e7e3e0
Background :#382822
1-File / New – Open 900 x 550 Transparent Image
2-Flood fill – Fill with your Gradient

3-Layers – Duplicate
4-Effects – Mehdi – WayLab1.1

5-Effects – Filters Unlimited2.0 – VM Naturel –Weave Distortion

6-Effects – L en K ‘s – palmyre

7-Effects – PluginsGalaxy – Grid

Layer Palette – Double click on this Layer and set the Blend Mode to ‘’Luminance(Legacy)
That’s how we work

8-Layers – New Raster Layer
9-Selection-Selection – CustomSelection

10- Open – calguismistcity14092011
11-Edit / Copy / Activate your work
12-Edit /Paste Into Selections
13-Selections – Select None
Layer Palette – Double click on this Layer and set the Blend Mode to “Luminance(Legacy)
14-Layers- New Raster Layer
Floodfill – Fill With your Background color #FFFFFF
15- Open – Mask – Narah – Mask – 0878
16-Layers – New Mask Layer – From Image

17- Layers duplicate-Duplicate according to the color you are using
18- Layers – Merge – Merge Group
19- Open – Women Tube- Tube Kahlan
20-Edit / Copy / Activate your work
21-Edit / Paste as New Layer
22-Image- Resize %65
23- Activate Pick Tool and place it like

24-Adjust – Sharpness-Sharpen
25-Effects- Alien Skin EyeCandy 5: Impact –Perspective Shadow- Drop Shadow,Blurry
26-Open – Sustu Şarkılar Text- Copy
27-Paste – Paste As New Layer
28-Activate Pick Tool and place it like

29- Open _ Keman Deco – Copy
30- Paste – Paste As New Layer
31-Image – Resize -70
32- Activate Pick Tool and place it like

33- Layer Palette – Double click on this Layer and set the Blend Mode to “Luminance(Legacy),Opacity 70
34-Layers- Merge – MergeVisible
35-Edit-Copy
36- Image – AddBorders – Symmetric, 1pixel, color#020202
37- Image – AddBorders – Symmetric, 10pixel,color# e7e3e0
38-Image – AddBorders – Symmetric, 1pixel, color#020202
39- Image – AddBorders – Symmetric, 40pixel, color# e7e3e0
40-We select the white field Magic Wand Tool
41-Layers- New Raster Layer
42-Paste – Paste İnto Selection
43- Adjust – Blur – GaussianBlur – 50,00
44-Effects- Mock – Windo

45-Selections – Select None
46-File- Open – Sustu Şarkılar Deco- Copy
47-Paste – Paste As New Layer
48- Activate Pick Tool and place it like

49-Layer Duplicate
50-Image –Mirror
51-Image –Flip
52-Put Your Watermarkt
53- Image – AddBorders – Symmetric, 1pixel, color#020202
Save JPEG


Çok teşekkür ederim Tamer hocam

Teşekkür ederim Kamil bey

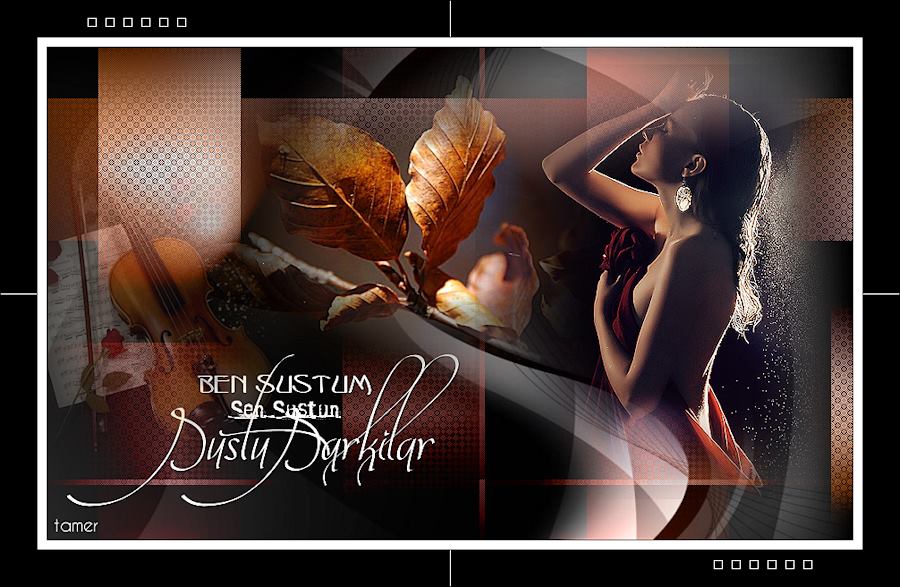
Teşekkür ederim Vahide Hocam / Hüzünlü Yıllar versiyon 1

Teşekkür ederim Vahide Hocam / Hüzünlü Yıllar versiyon 2

Teşekkür Ederim @ynur Hocam versiyon 1

Teşekkür Ederim @ynur Hocam versiyon 2

Teşekkür ederim Seyran Ustam

Thank you Annick

Thank you Rozália

Tank you Zara

Thank you Miriam

Thank you Liliana
Dank je we Ria
Thank you Veronika

Thank you Angel Star

Thank you Halasz

Thank you Erzsike

Teşekkür Ederim Ceylan

Teşekkür Ederim Ata

Teşekkür Ederim Melodi

Teşekkür Ederim By Yusuf

Thank you Uschi

Thank you Lily6794

Thank you Cickadesign

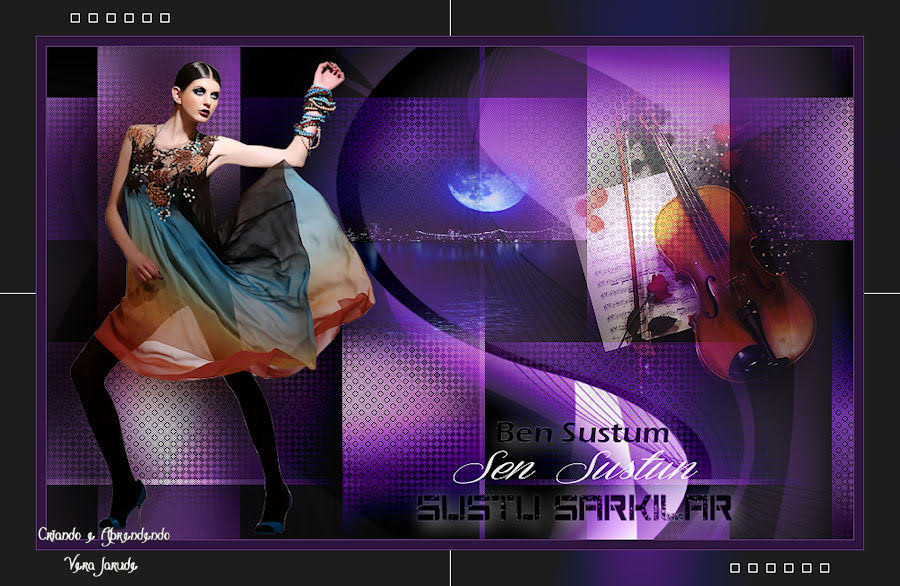
Thank you Vera Jaruda
Thank you Adri

Thank you Brigitte

Thank you Ragnhild

Thank you Méquil

Thank you Angel

Thank you Myriam

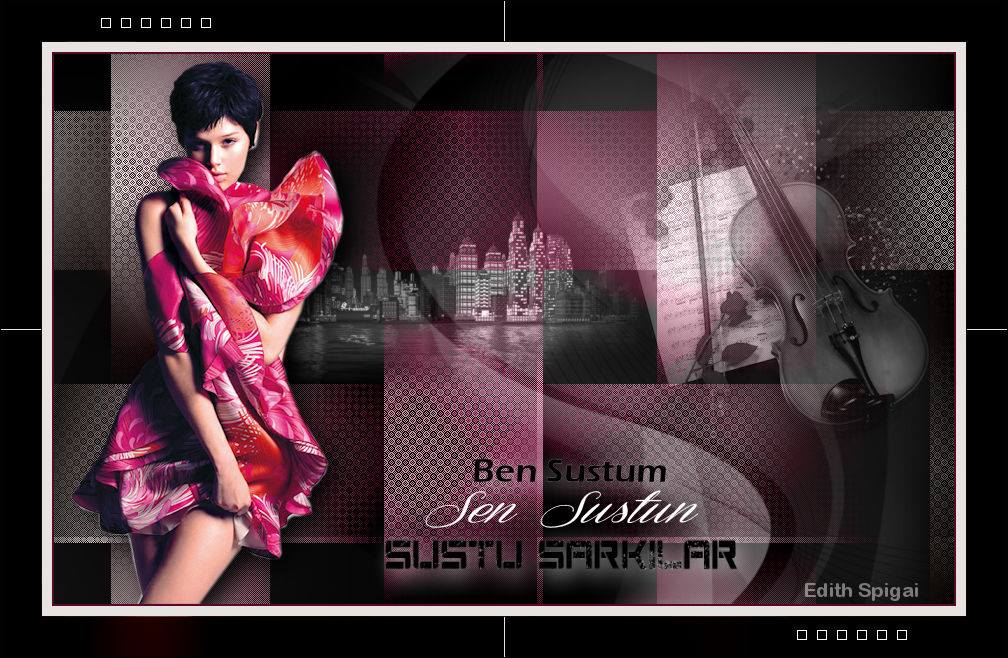
Thank you Edith
Thank you Polyák


Hiç yorum yok:
Yorum Gönder